

Layouts & quad budget
Choose how the quad layout follows your model, then set the budget, curvature adaptation, and optional layout controls.
On this page
Surface or Axial?
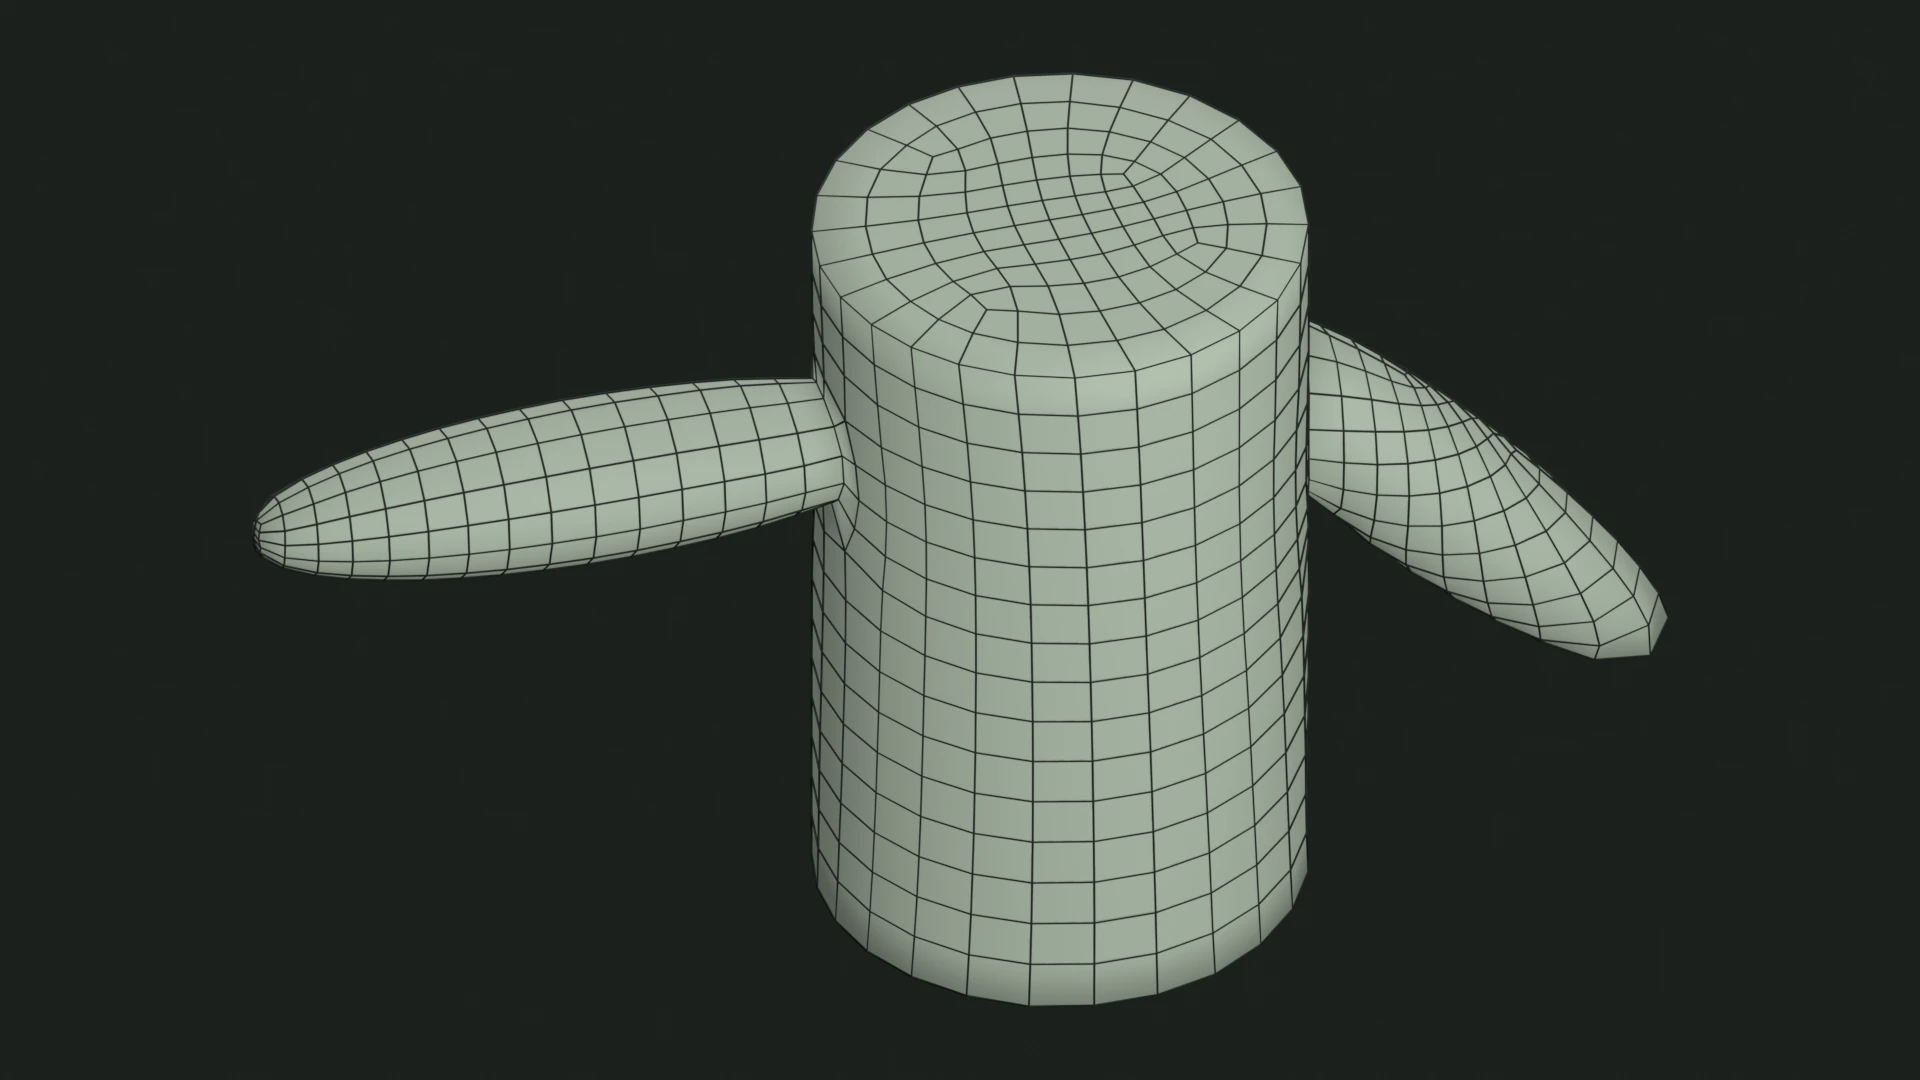
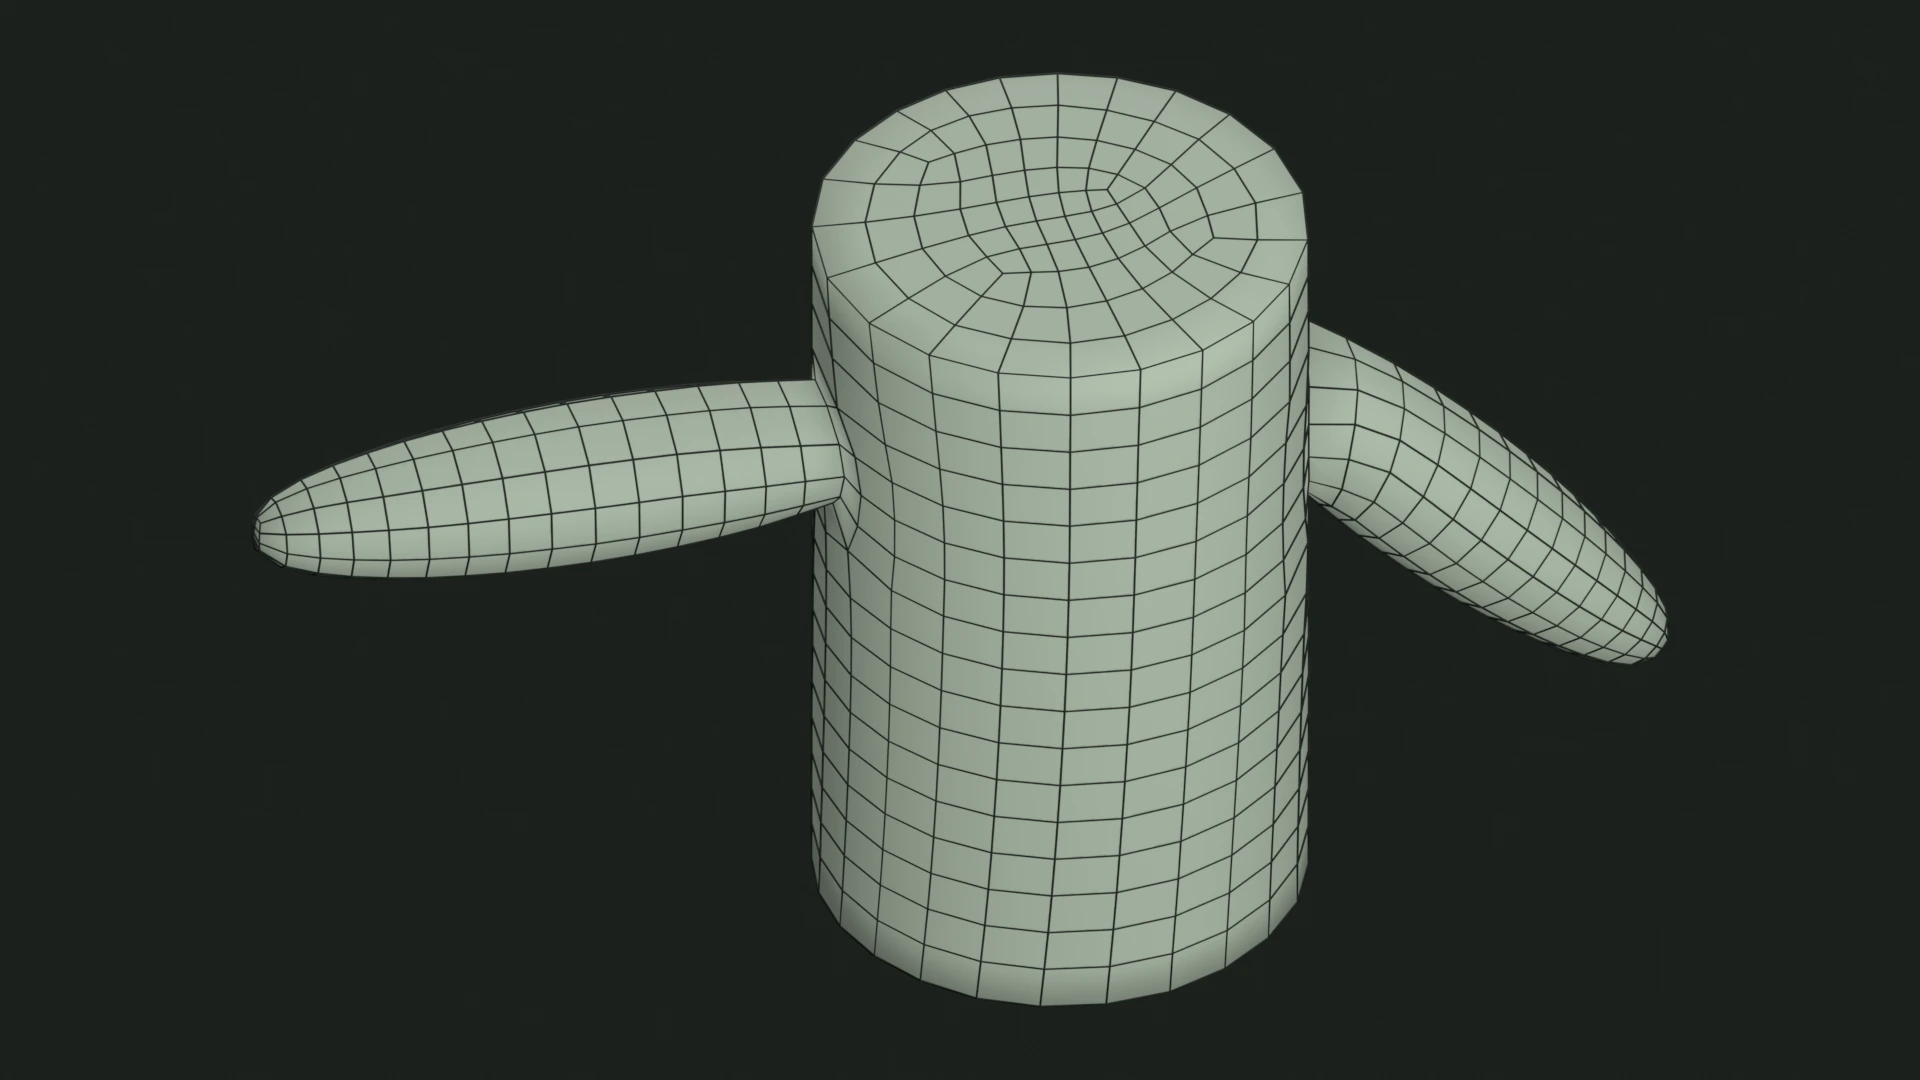
Structure Directions
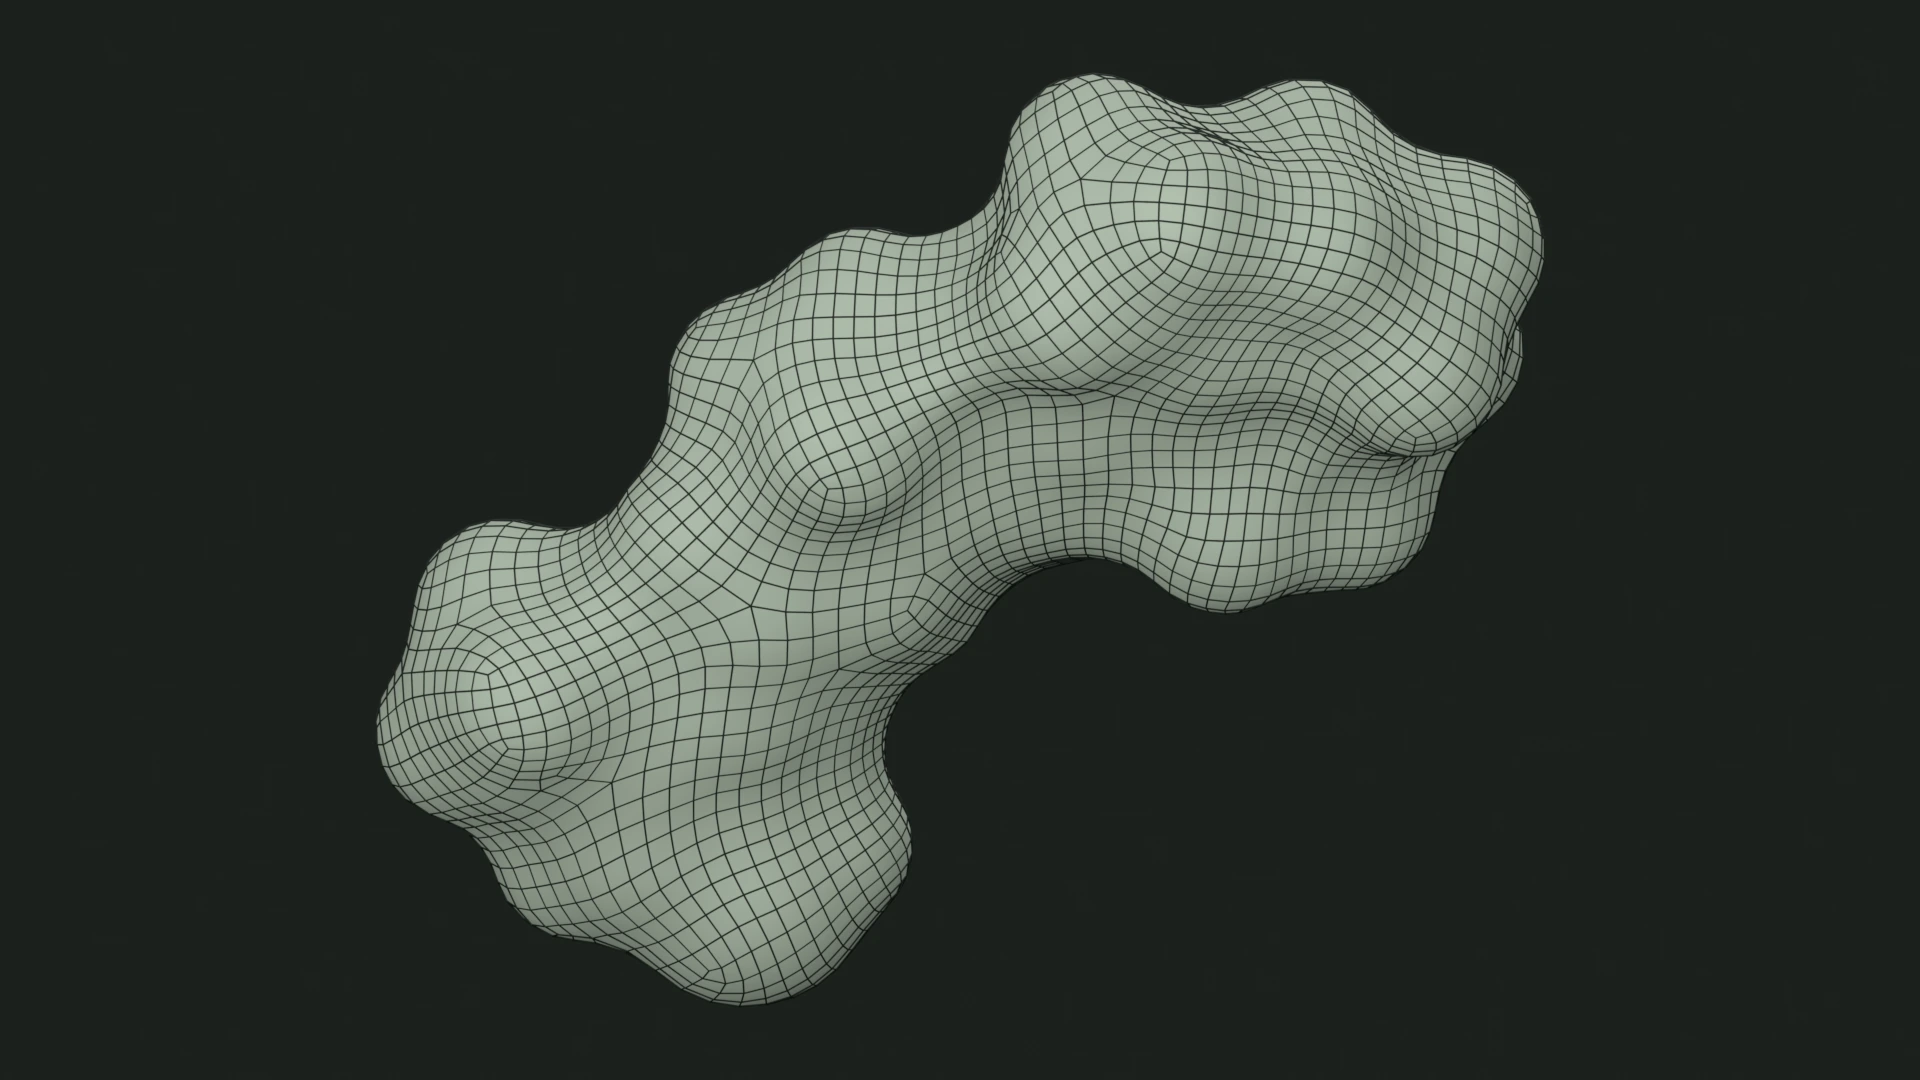
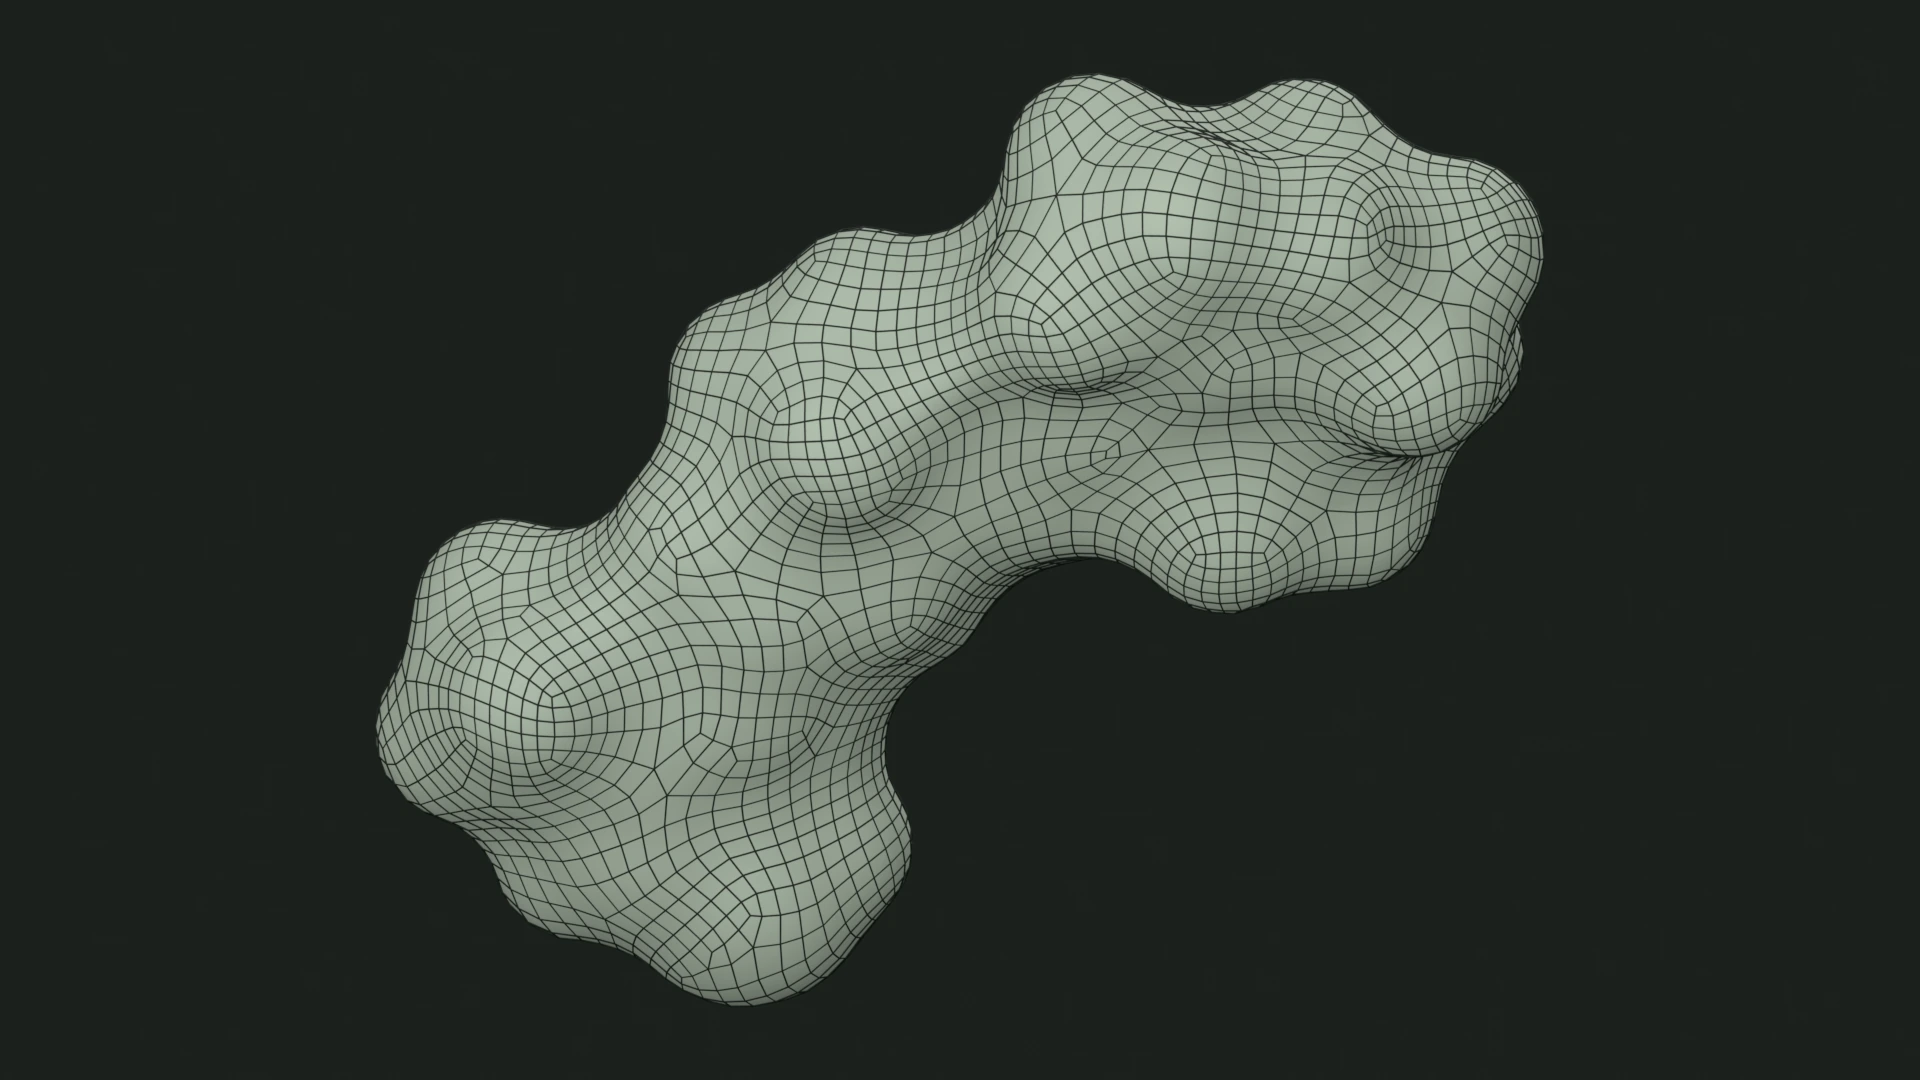
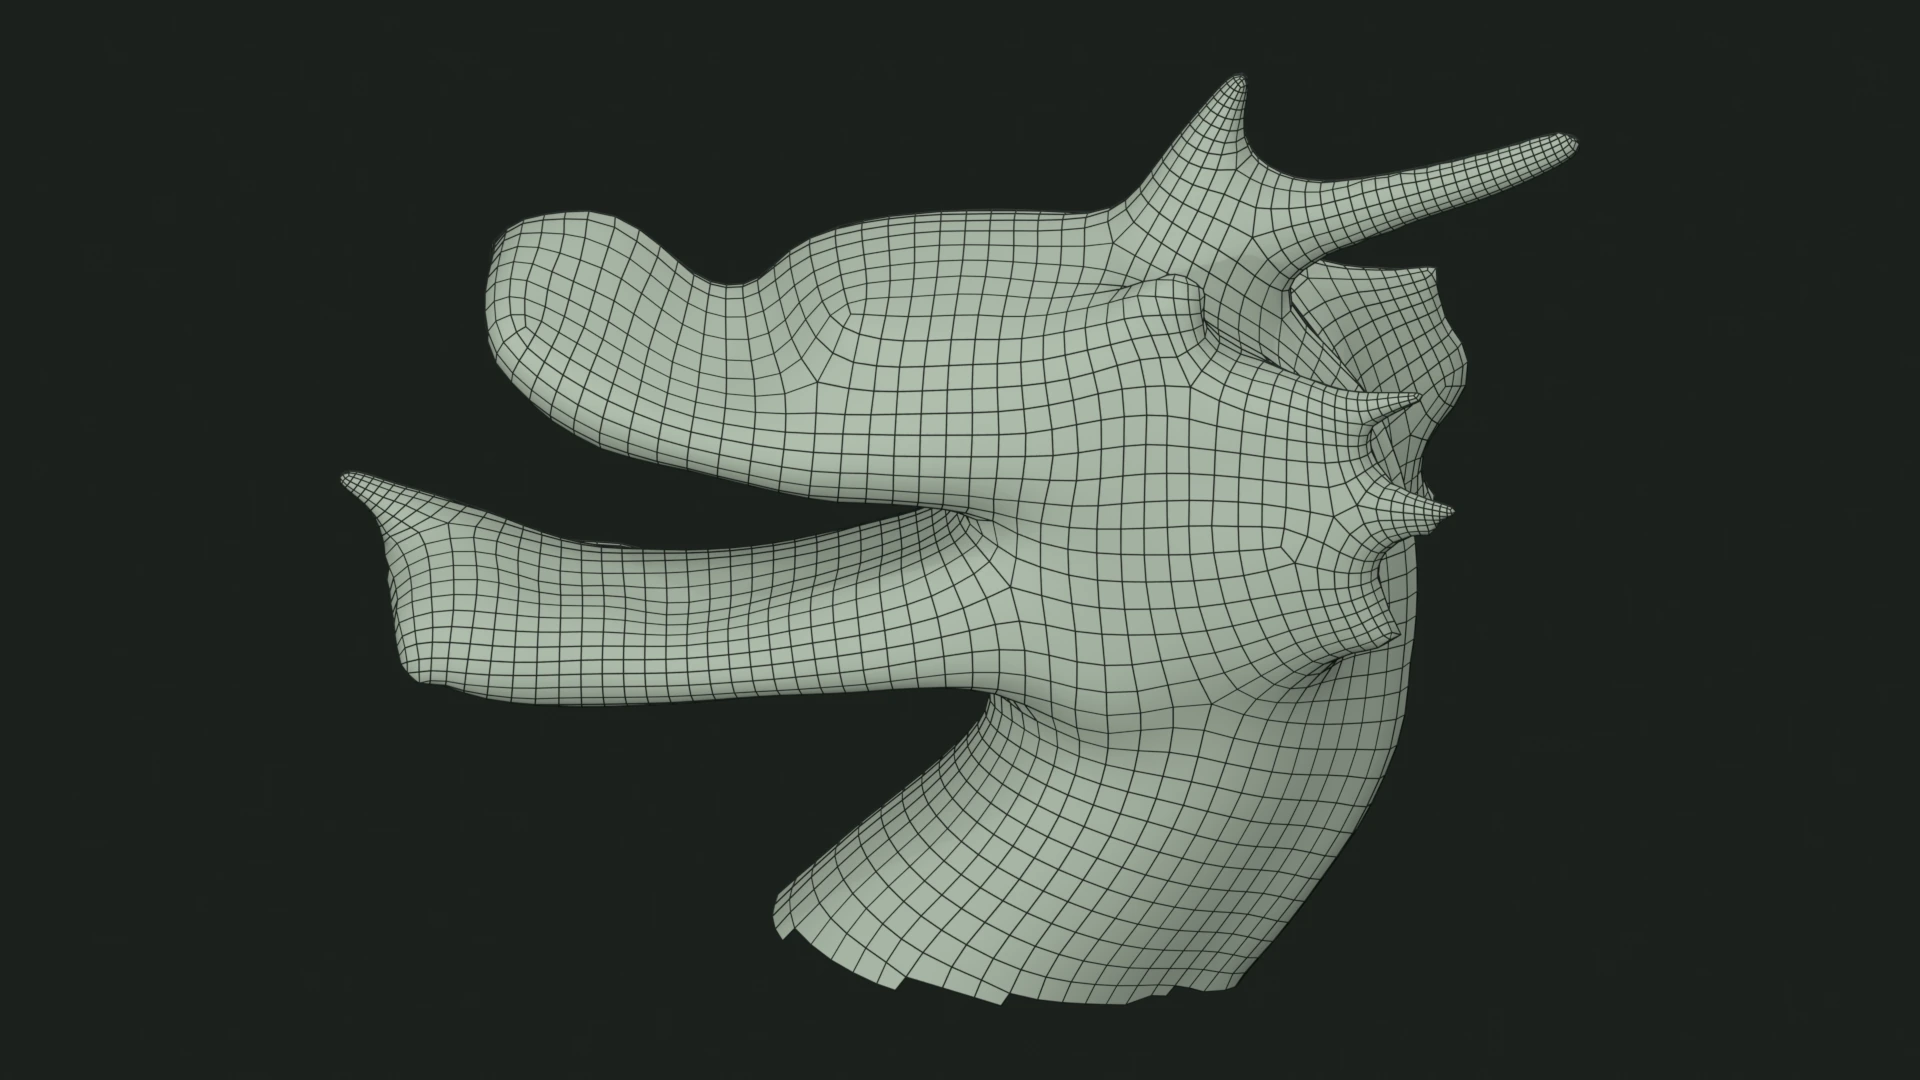
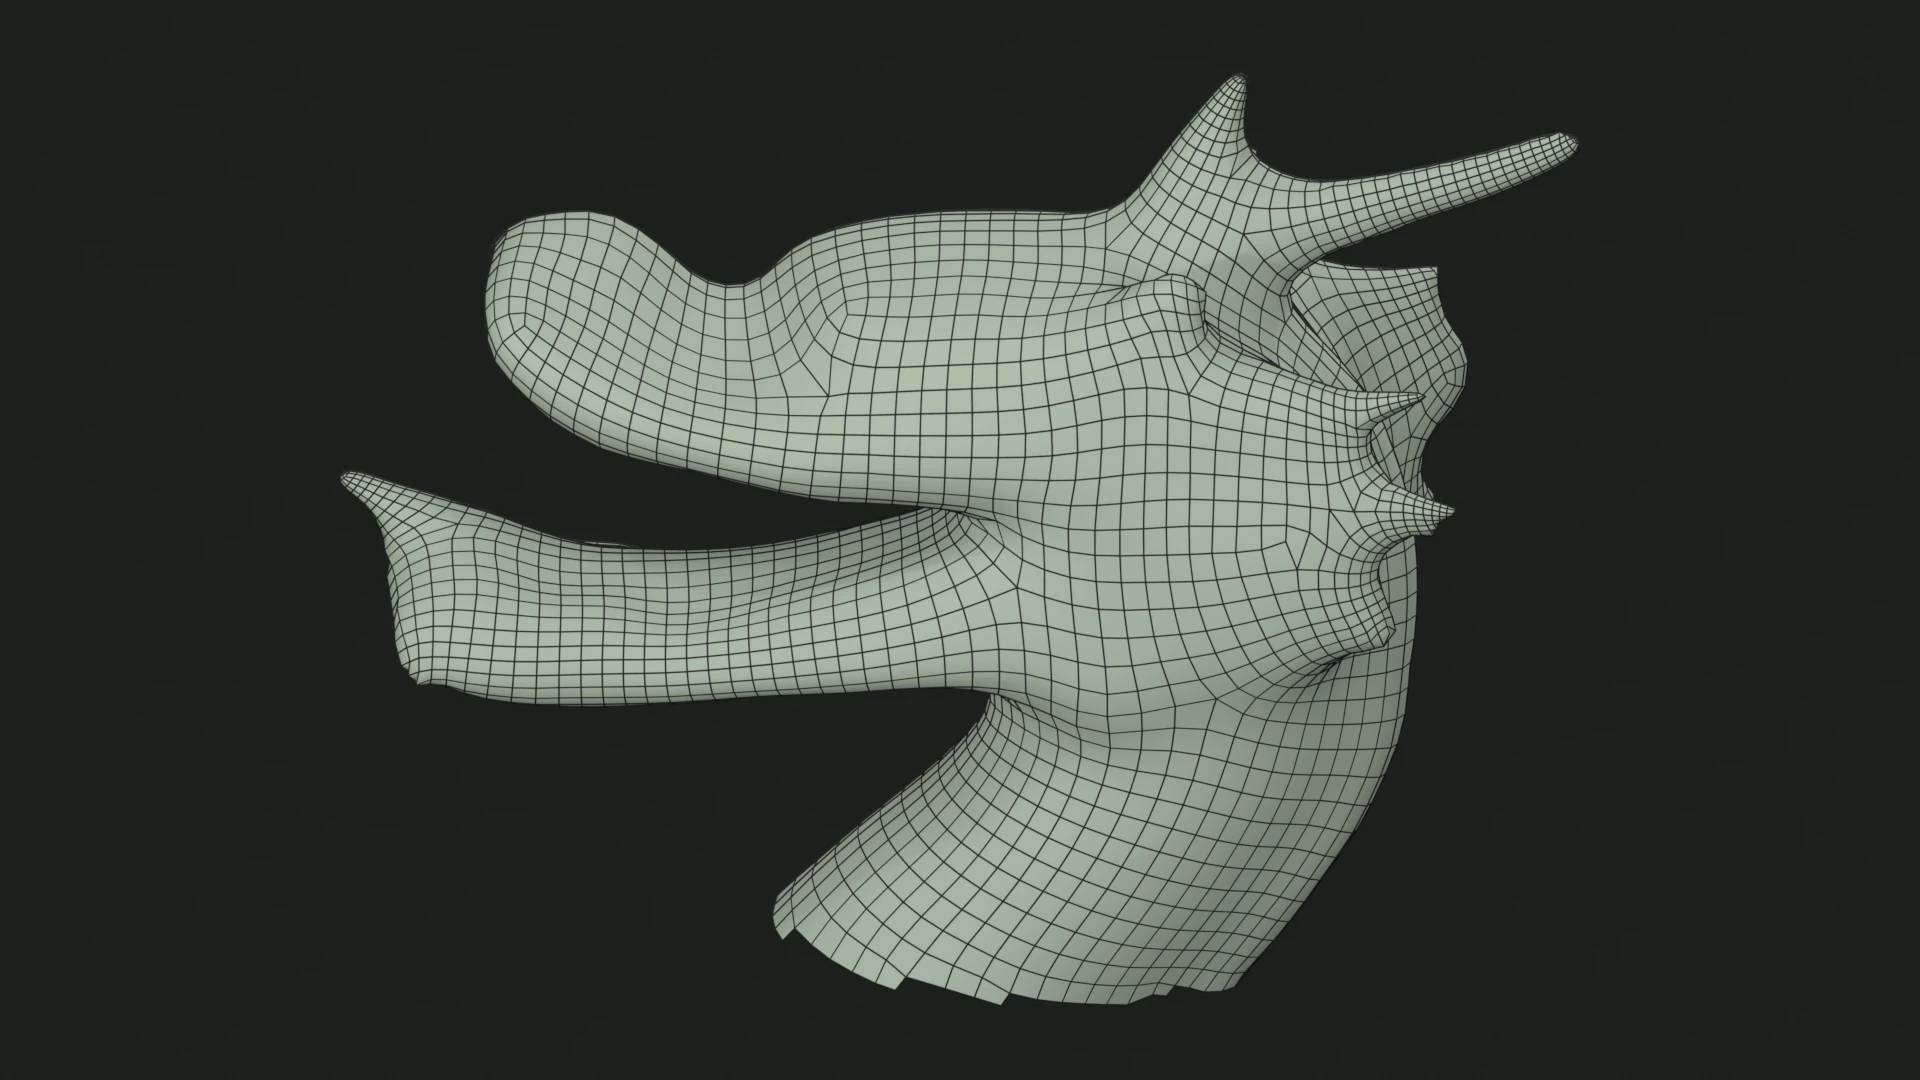
With Structure Directions off, the engine uses its fixed X, Y, and Z directions alongside local curvature. Turning it on switches to directions inferred from each surface region's overall shape and boundaries.
With the option on at 0.0, structure directions have zero weight, leaving local curvature and constraints to guide the flow. Increasing Structure influence gives more weight to the inferred directions. In this example, higher values pull quad rows toward the rectangular outline and away from the local curves. The option works with both Surface and Axial.
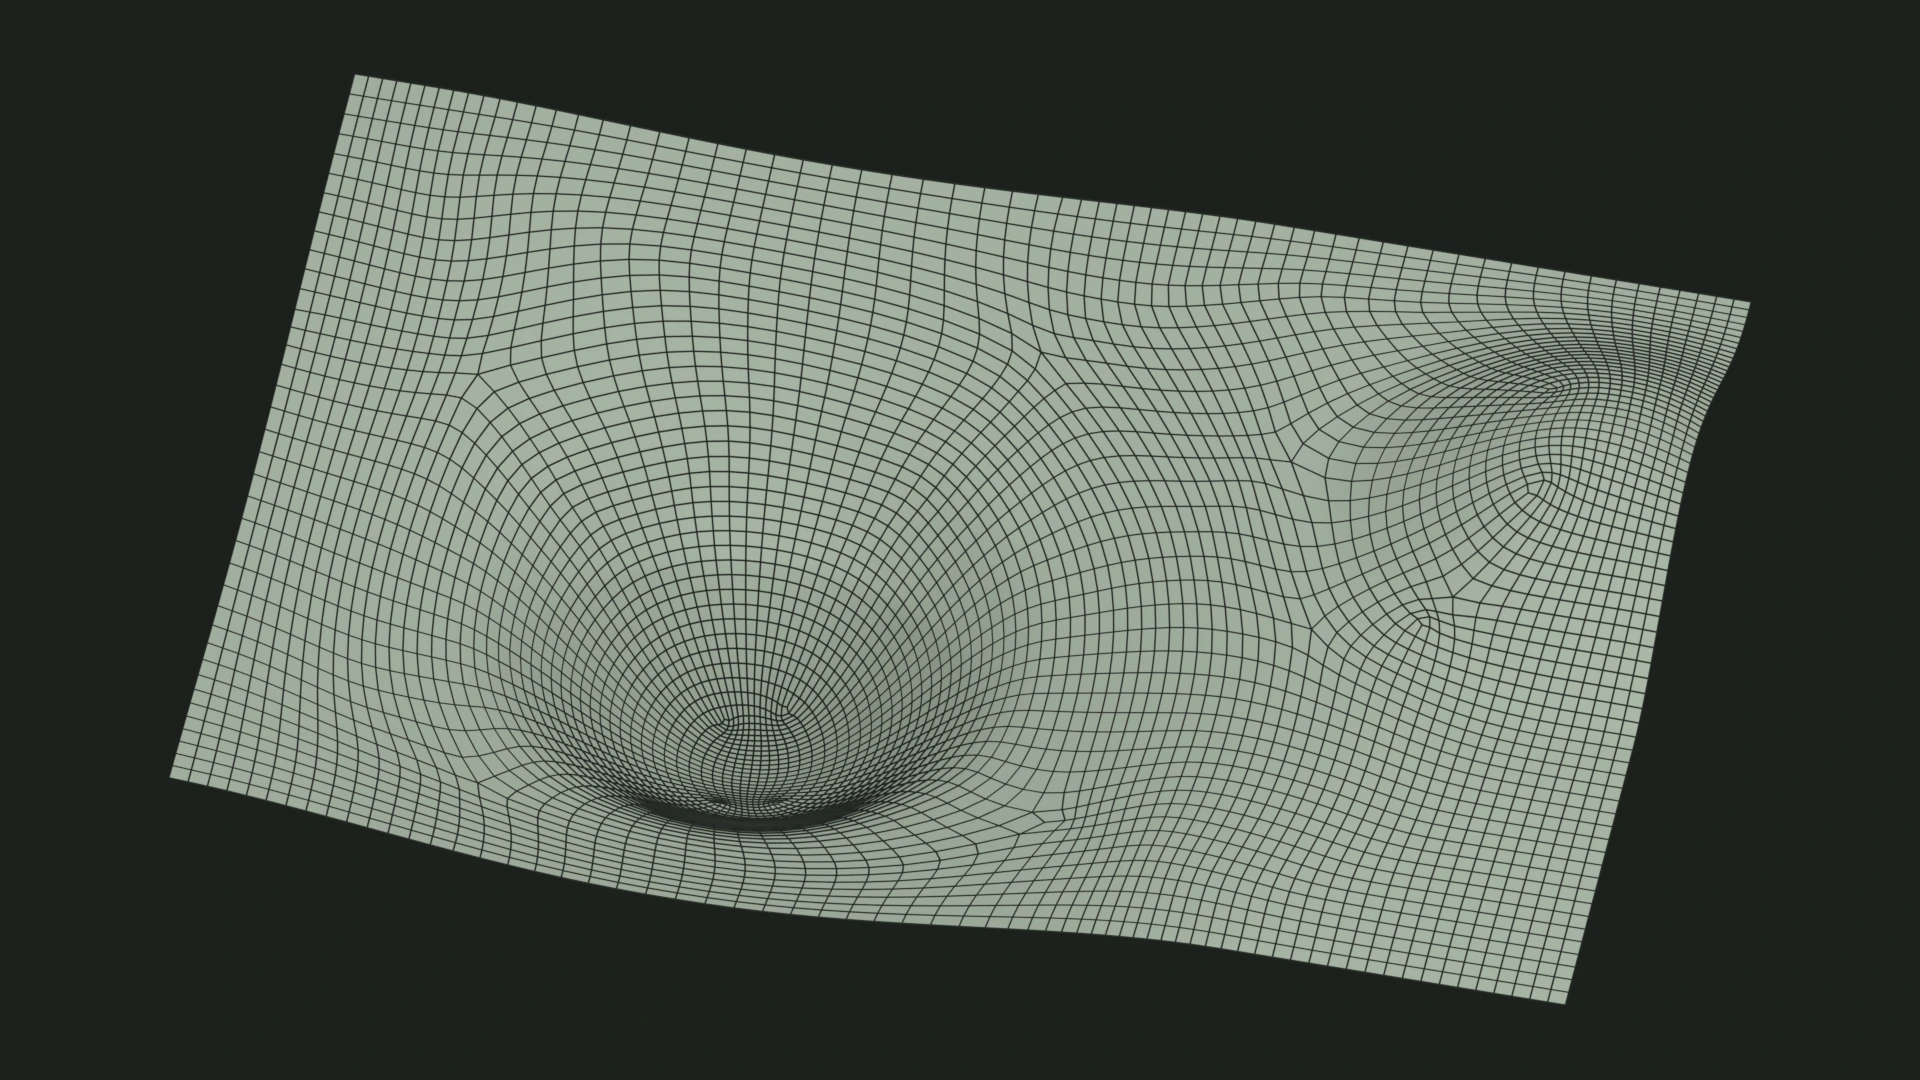
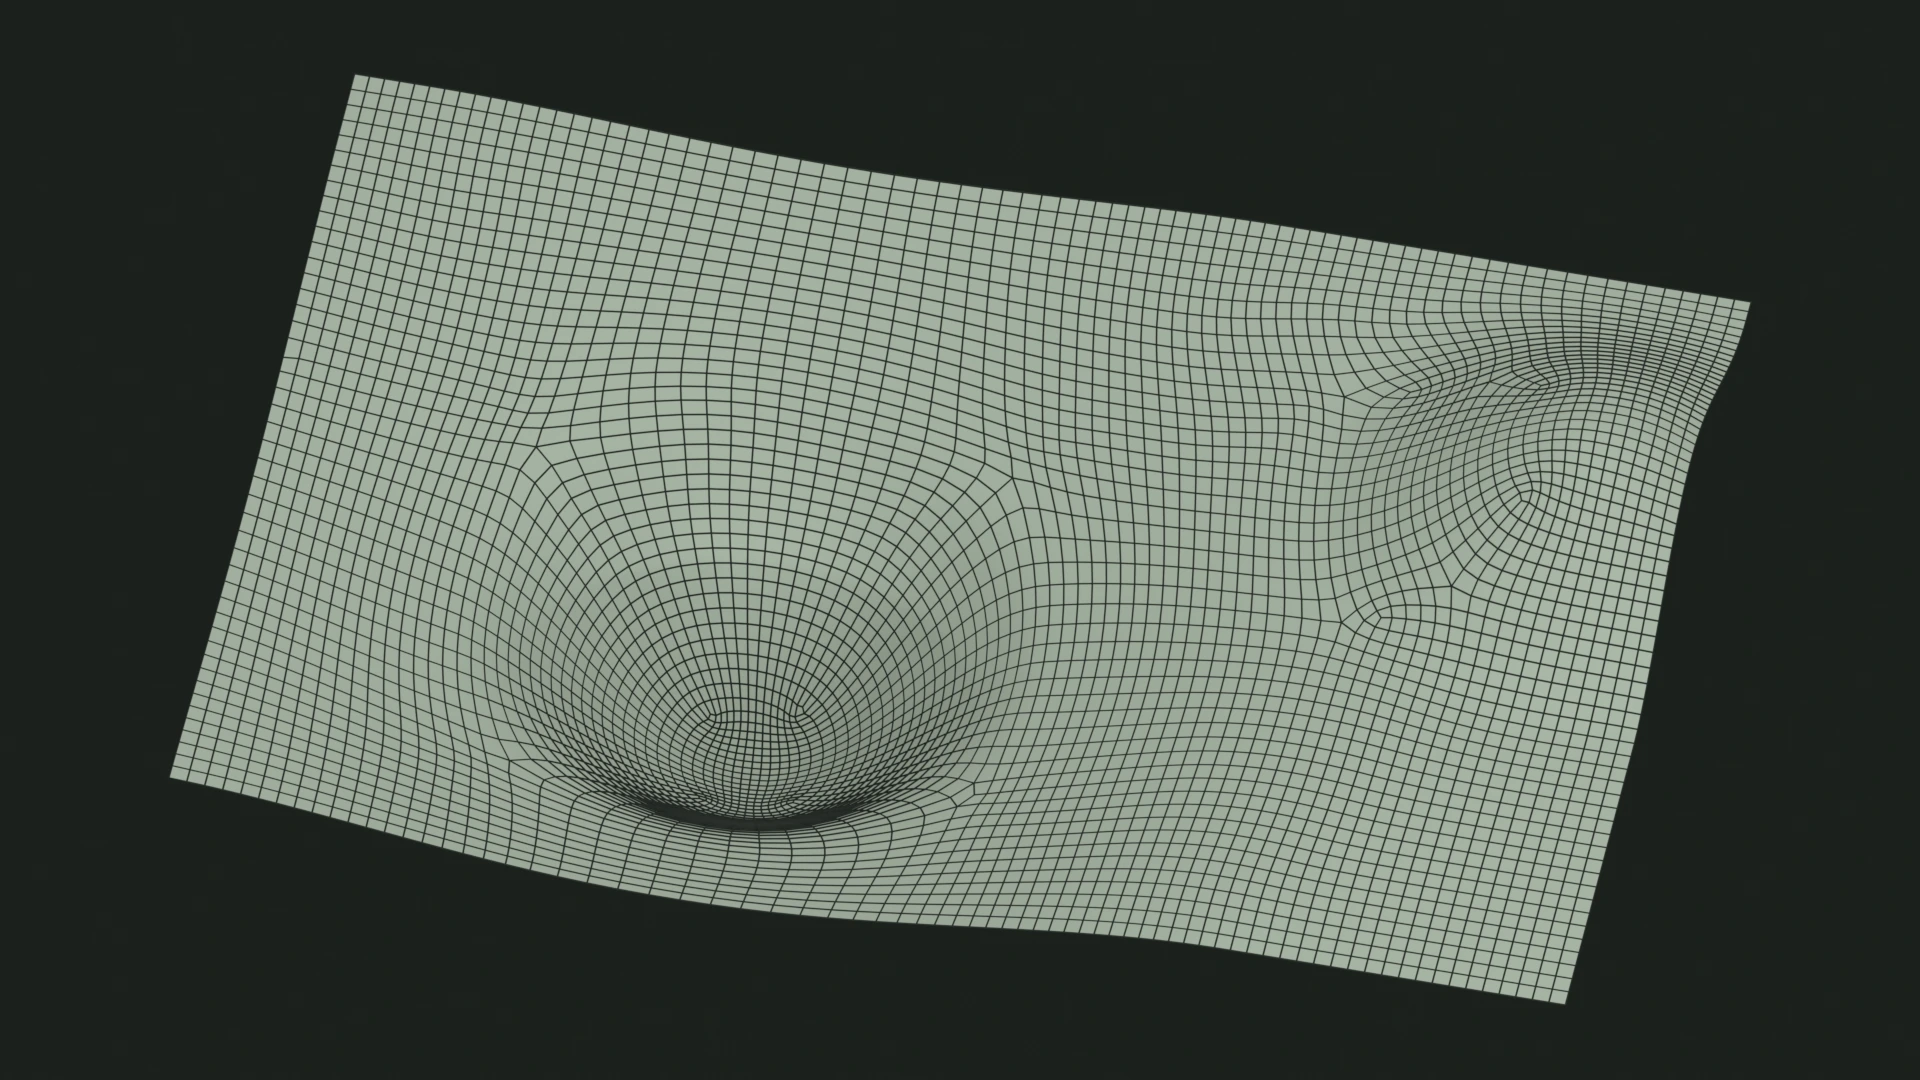
Layout Controls Experimental
Enable Layout Controls for three optional adjustments. Start with the defaults and change one control at a time.
- Flow smoothness
- Lower values follow local direction changes more closely. Higher values spread longer, more continuous flow. This changes quad directions, not the smoothness of the model surface.
- Size transitions
- Lower values allow faster changes in quad size. Higher values distribute the transition more gradually between detailed and broad regions.
- Surface relaxation
- Adjusts vertex spacing and quad shape on the source surface after the quads are created. Higher values make stronger adjustments; 0 skips this step.
- Reset layout controls
- Restores these three sliders to their defaults.
Set the quad budget
- Target quads
- An approximate quad count. Higher values produce a denser mesh; the final count may exceed the target.
- Curvature adaptation
- Distributes quad sizes according to surface curvature. Higher values prioritize smaller quads in curved regions.
- Target count adjustment
- Enabled by default. Redistributes curvature detail to stay near the requested total. When disabled, curvature can increase the total count. An exact count is not guaranteed.
Adjustment can take longer because additional attempts may be needed. If a run cannot find a suitable result near the budget, increase the target or disable adjustment and compare again. Constraints, small parts, and symmetry can affect the final count.
Use Quad Density Paint when a particular region needs a different share of the budget. Post Optimize runs afterward and may lower the final count.
Monitor or cancel a remesh
While WQuads runs, the main panel shows its current phase, progress, and elapsed time. Click Cancel or press Esc during the remesh to request cancellation; wait for it to finish before starting another run.
The completed summary reports vertices, quads, and triangles, plus other face types when present. Review any warning count and export a support report for details.
Add geometry constraints
Use Edge Rules to preserve selected paths or adjust automatic hard-edge detection. Protect, Free, Auto, and the preview controls are covered in their own guide.
Use a symmetric source sector
Symmetry remeshes a chosen source sector and reflects it across object-local axes. Read the symmetry guide for source sides, mirror centers, and the difference from guide or paint mirroring.
Choose the output
The Output panel controls evaluated modifiers, source visibility, smooth shading, hard-edge marking, Post Optimize, and experimental Source UV Transfer.
Continue to Output & result settings for each option, Surface tolerance, and restoring saved choices with Use These Settings.