

Surface guides
Draw paths directly on the source mesh to tell the quad edges where you want them to flow.
On this page
Start, draw, finish
- Select the source in Object Mode.
Open
Surface Guidesand clickDraw Guides. Keep the pointer over the 3D Viewport when using shortcuts. - Choose Draw or Edit.
Use
Drawto create paths andEditto select curves and move points. Press Tab to switch between them. - Keep or discard the session.
Click
Doneto save your changes as one Blender undo step.Discardrestores the guides from before this session. The session's ownUndoandRedolet you revise individual actions while working. - Apply the guides.
Enable
Apply to Remesh, check the guides you want in the guide list, and runRemesh.
It cancels a pending stroke, Pen curve, point drag, or selection box first, and clears an active axis lock next. When no gesture or lock is active, Esc saves and exits. Use Discard to cancel the whole session.
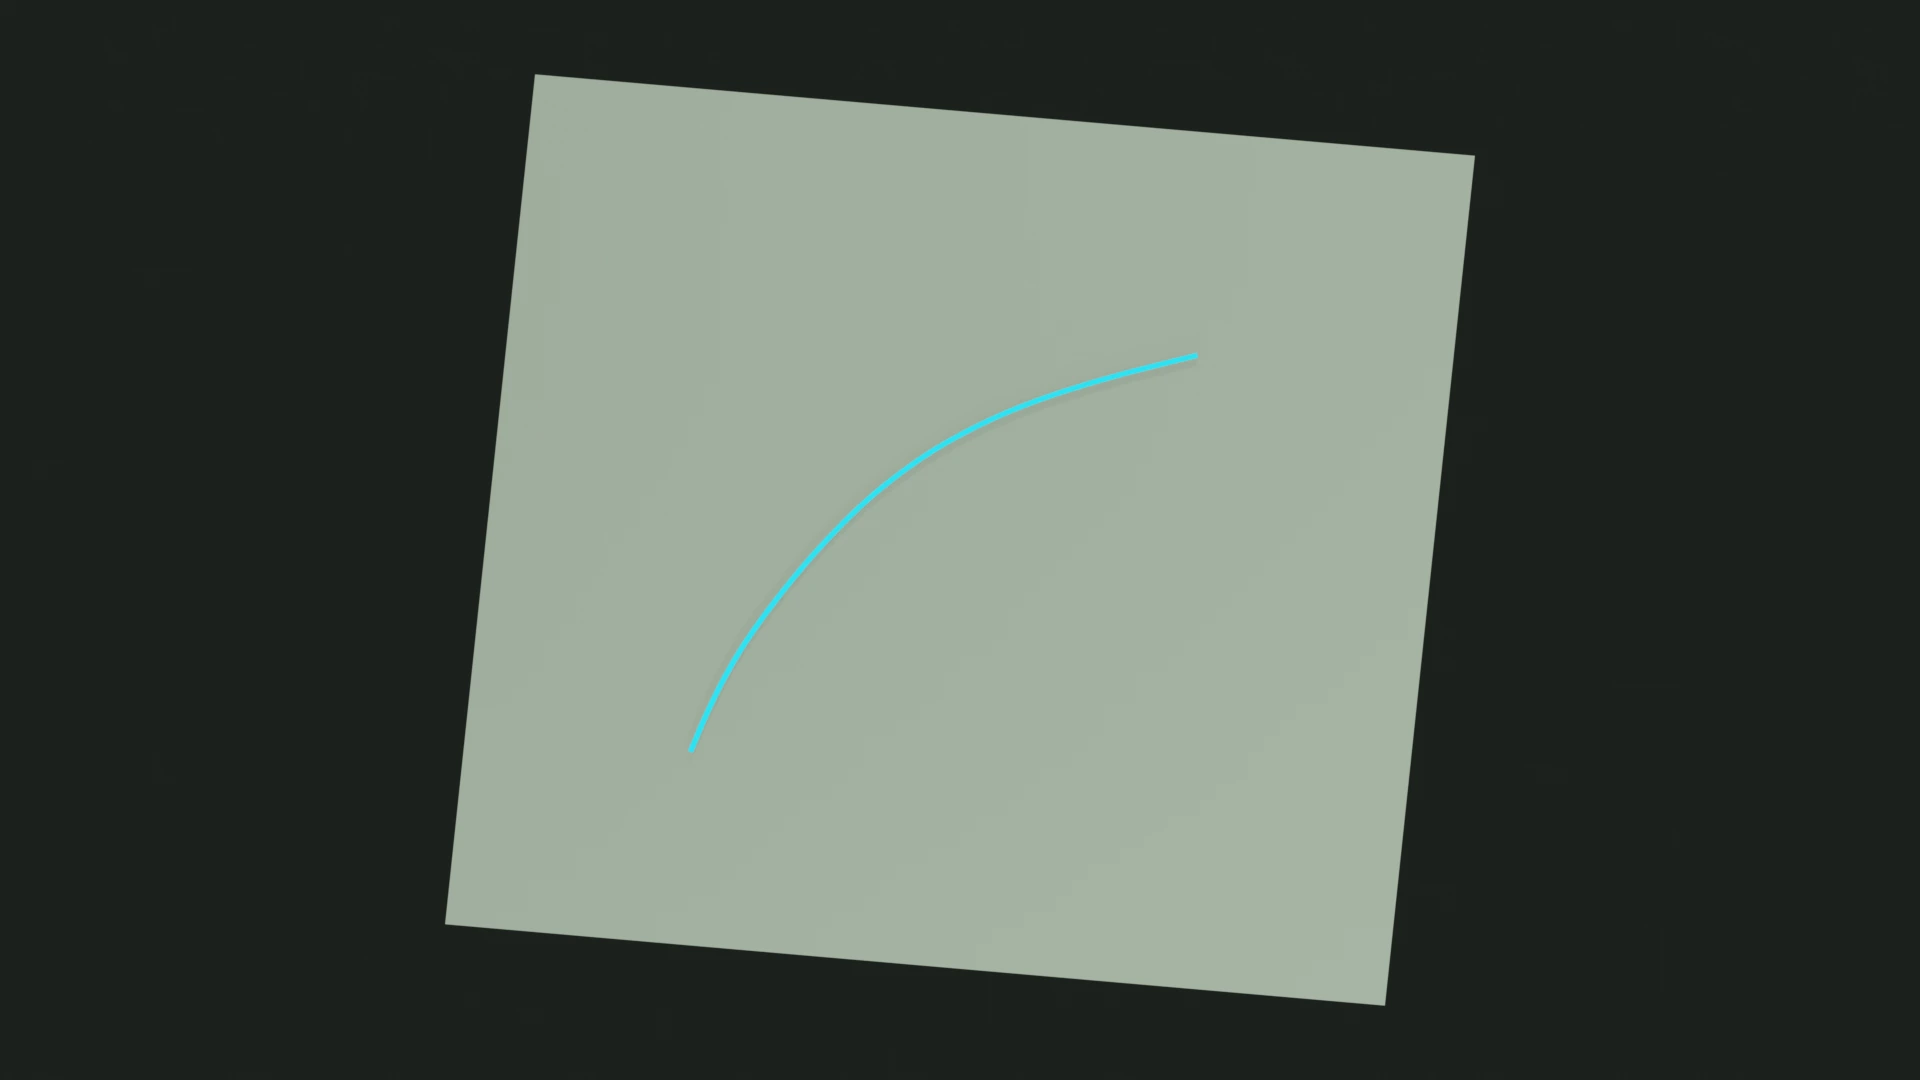
Five ways to draw
- Freehand
- Drag to sketch a curve on the visible surface. Adjust
Smoothingto soften the stroke. Starting a drag outside the mesh makes a cut through it. - Pen
- Click to place a corner; drag to place a smooth point. Click the starting point to close the path, or press Enter to finish an open curve. Enter finishes the pending curve first; use Done to end the session.
- Line
- Drag a straight line in the view and project it onto the visible surface.
- Circle
- Drag from the center to draw an ellipse. Hold Shift for a round circle in the view.
- Cut Through
- Drag across the model to create paths through both front and back surfaces. Use this when a visible-surface stroke would leave the back untouched.
The Pen needs a continuous surface beneath its path. If it crosses empty space or a separate surface, move the points or cancel the pending curve with Esc.
Under Drawing & snapping, Sample spacing (px) controls stroke sampling and New guide points controls editable handles. Neither sets the final quad count.
Shape points and Bézier handles
Switch to Edit. Click a curve to make it active, then drag its control points. Shift-click selects points; Ctrl-click on a curve adds a point. Use Pick radius (px) if handles are difficult to select.
- Aligned
- Keeps the two Bézier tangents aligned for a smooth continuation.
- Free
- Lets each tangent move independently. Ctrl-drag a handle to adjust it independently.
- Corner (V)
- Makes a sharp point. V toggles between a corner and a smooth point.
- Bézier handles (H)
- Shows or hides the active guide's tangent handles.
- Target points + Apply
- Redistributes editable handles while preserving the sampled curve and junctions. It changes the control point count, not the output quad budget.
Press X, Y, or Z while drawing or moving a point or handle to constrain movement. Repeated presses of the same axis cycle through Global → Local → Off; the panel shows the active lock.
Join, split, and smooth
In the Guide list, select, rename, enable, or delete guides. The active curve is orange. The eye icon controls guide visibility; the checkboxes control which guides are applied.
- Join connected guides
- The guide-list action combines compatible, unbranched endpoint connections. The checkbox with the same name under Drawing & snapping enables automatic joining as you draw.
- Split here
- Select one interior control point to split the guide there.
- Disconnect junction (D)
- Select one shared point to detach this guide from the junction.
- Connection shape
Autosmooths gentle continuations and keeps corners or branches.Smooth (J)aligns the tangents at a join;Corner (K)keeps independent tangents.- Smooth selected
- Smooths selected control points while keeping ends and junctions. Set
Smooth passesandSmooth strengthin Point tools. - Smooth curve (keep points)
- Smooths the curve between control points while leaving the handles in place.
Remove points removes selected interior handles. Delete in the guide list removes an entire guide, and Clear all removes all guides. Use the session's Undo to recover an action before finishing.
Snap to guides or surface features
- Snap to guides
- Snaps stroke starts and ends to visible, enabled guide endpoints or the stroke's own start.
Snap targetspreviews available points; a pink cross marks a snap. - Snap points (S)
- Snaps edited points to other control points or mirror seams. S toggles it;
Snap radius (px)sets the screen-space capture distance. - Snap to surface features
- Attracts drawing and dragged points to nearby ridges, bevel edges, or boundaries. Lower
Min angle (°)detects softer features and may also pick up surface noise. - Feature reach
- Sets the maximum attraction distance as a fraction of object size.
Fit guide to featuresfits an existing active guide to nearby features. If nothing is found, increase reach or lower the minimum angle.
Hold Shift to bypass snapping. In Circle drawing, Shift also makes the shape round.
Line width and Display lift only change the viewport overlay. Display lift does not move the saved path or change remeshing.
Place loops and mirrored paths
Outside a drawing session, choose Place Surface Loop. Hover and click to place a closed surface loop, or drag to set its direction. Press Tab for another loop option; use Cancel Guide Placement to leave placement.
Mirror drawing mirrors paths and loop guides on object-local X, Y, or Z planes through the object origin. Projection limit sets how far a mirrored copy may project back onto the surface. Copies too far from the surface are skipped.
Snap to mirror seam helps endpoints meet on those planes. Guide mirroring is independent of Exact Symmetry, which controls the remeshed geometry and can use a different center.
Control the influence
Influence radius controls the surrounding reach as a fraction of model size. Guide strength sets the strength of that influence.
A strength of 0 disables the effect. With Surface Guides, a positive strength keeps the embedded path, even at low values.
New guide points and Target points control the number of guide control points. They do not set the final quad count.
Choose a path behavior
Surface Guides embeds paths in the topology. Curvature Suggestion Paths (Experimental) uses the path to steer nearby quad flow with a strength you can adjust.
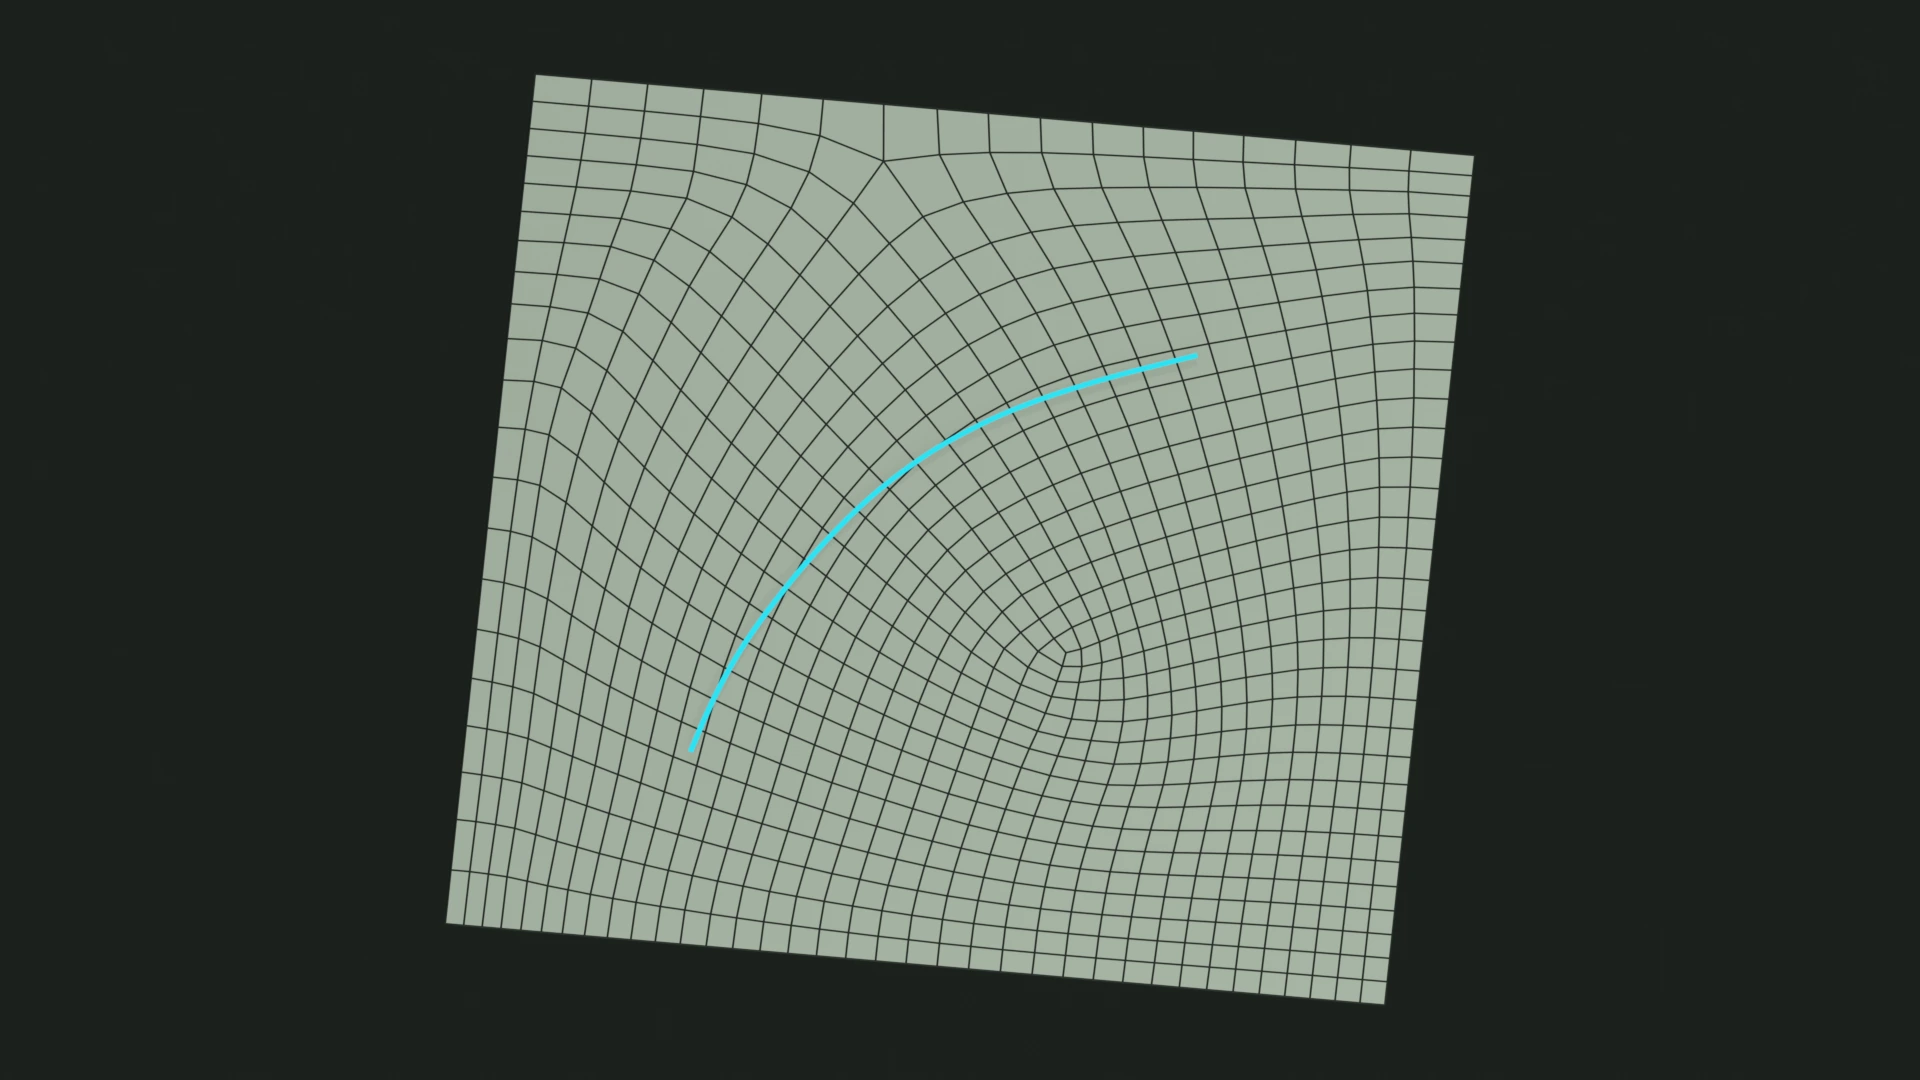
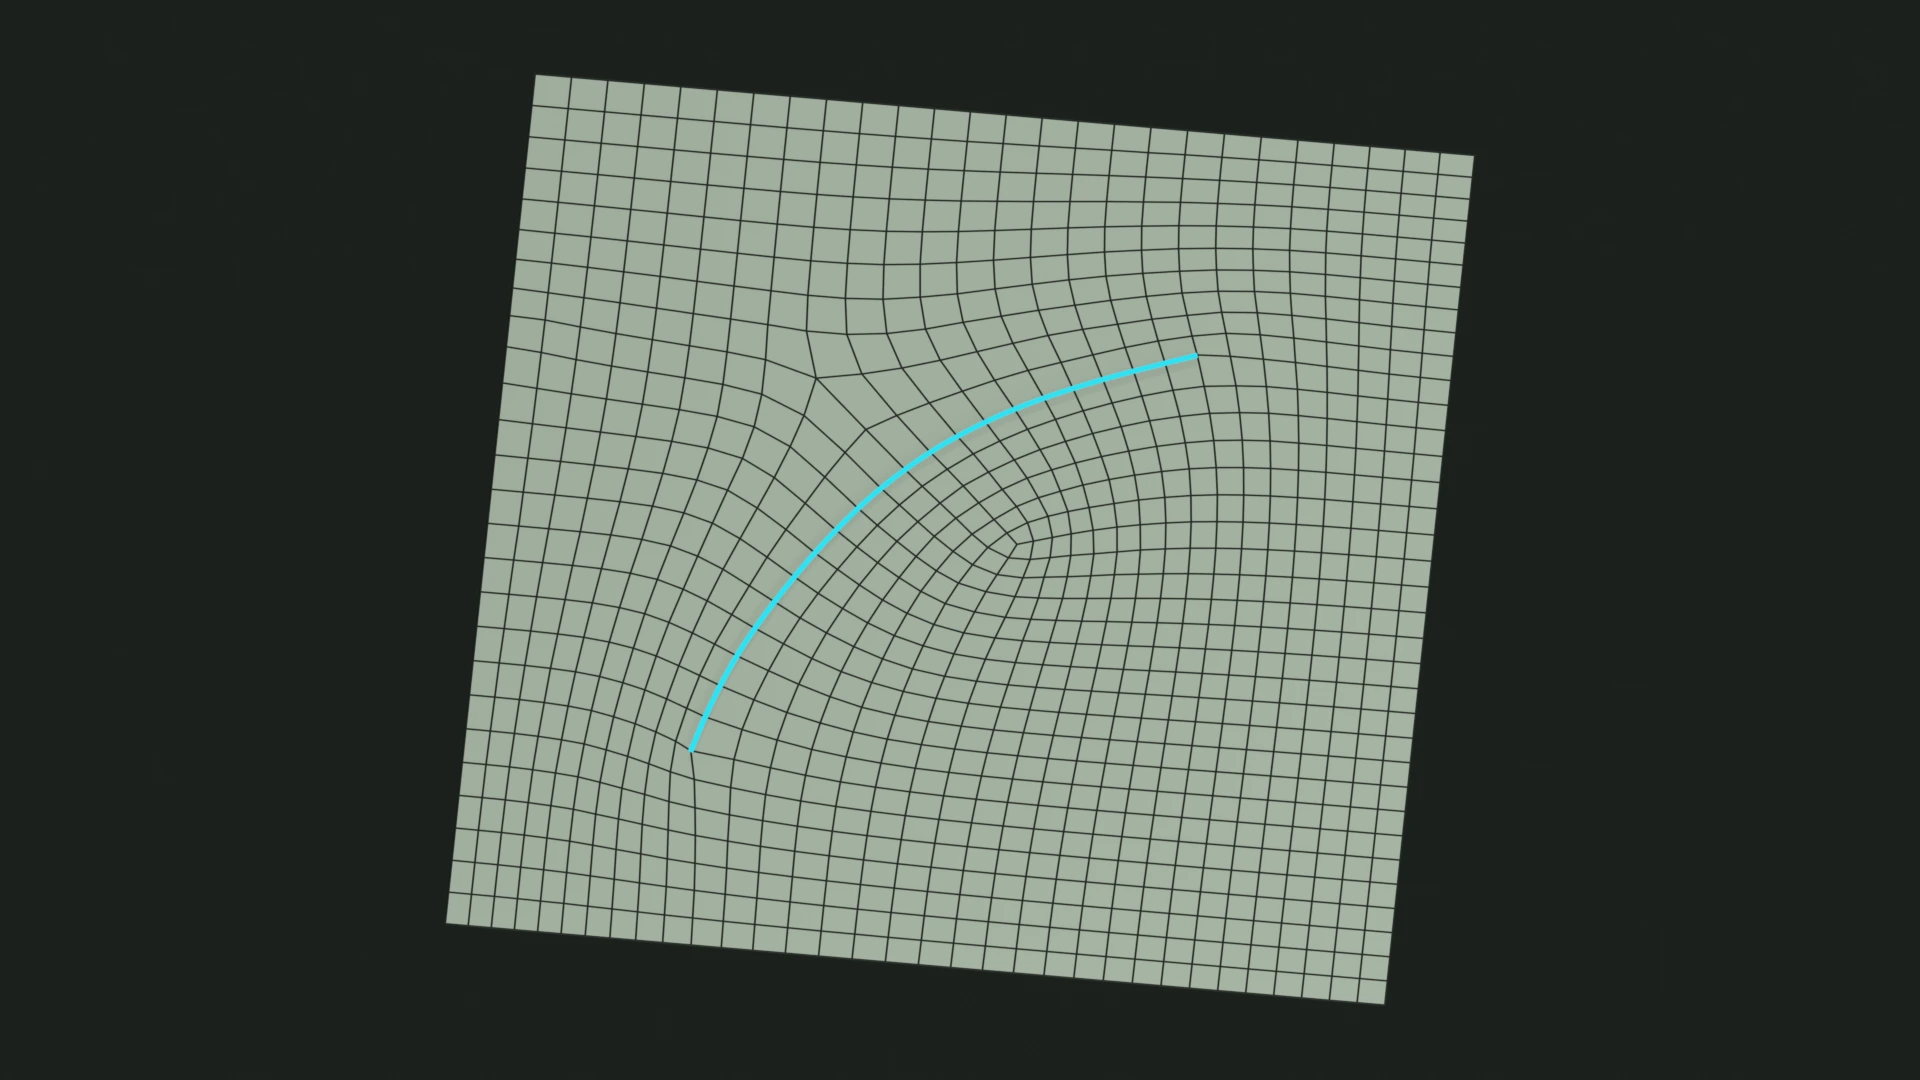
Start with a few guides around the flow you care about. Finish the session and check enabled guides, Apply to Remesh, and a positive strength if a stroke has no effect.
Keyboard reference
These shortcuts apply inside Draw Guides with the pointer over the viewport. Ctrl is the modifier on Windows and Linux.
- Tab
- Switch Draw / Edit.
- Hold F / P / L / O / C
- Temporarily use Freehand / Pen / Line / Circle / Cut Through.
- X / Y / Z
- Cycle an axis lock: Global → Local → Off.
- A / Alt+A
- Select all points / deselect. The panel also offers Invert.
- B / Shift-drag
- Box select / add a selection box. Ctrl+Shift-drag subtracts from the selection.
- H / V
- Toggle Bézier handles / corner or smooth point.
- S / Shift+S
- Toggle point snapping / smooth selected points.
- D / J / K / Delete
- Disconnect junction / smooth join / corner join / remove selected interior points.
- Ctrl+Z / Ctrl+Shift+Z / Ctrl+Y
- Undo / redo / redo within the session.
- Enter
- Finish a pending Pen curve, or save and exit when no Pen curve is pending.
- Esc
- Cancel the active gesture first, then clear an axis lock if present; otherwise save and exit. Discard cancels the entire session.